
Sewing Pattern: Dog waste bag holder backpack
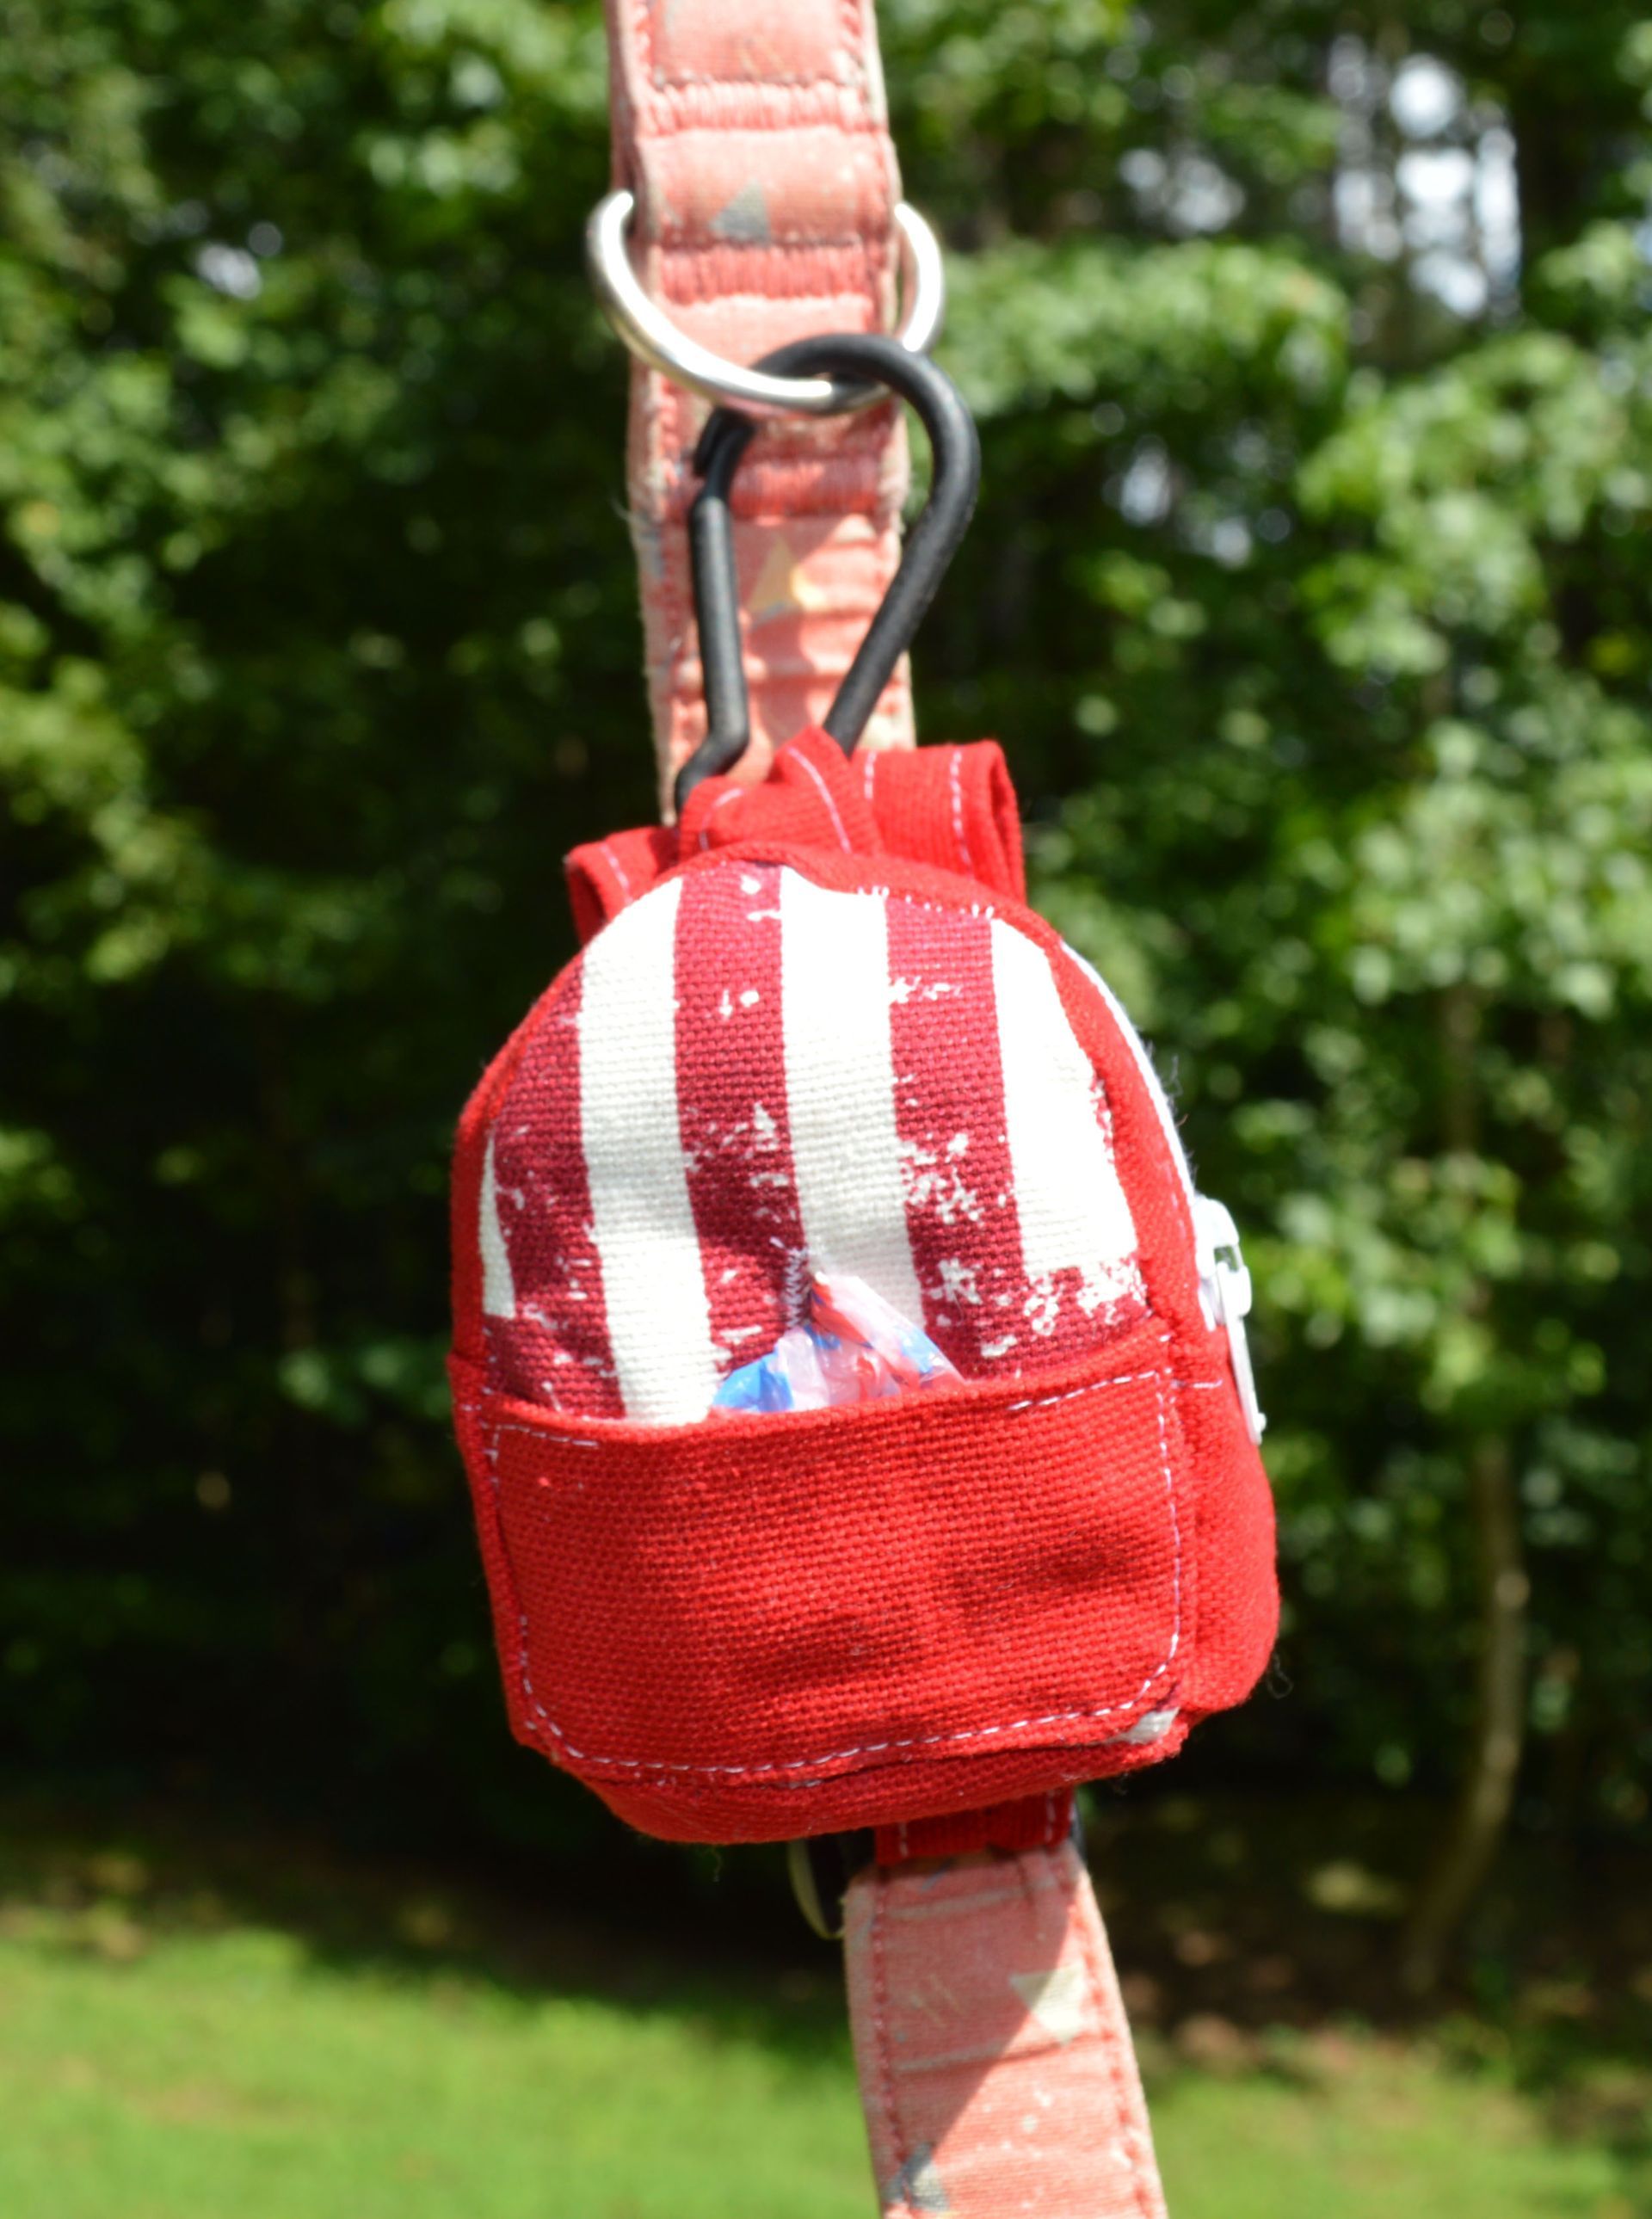
Introducing a compact and adorable dog waste bag holder backpack, designed to hold two rolls of bags while maintaining sturdiness and practicality. This small yet efficient backpack boasts multiple connector points, allowing for easy attachment and versatility. Its charming design adds an extra touch of cuteness to make your outings with your furry friend even more enjoyable.
Easy-to-follow sewing design guide for the dog waste bag holder backpack, complete with comprehensive instructions, helpful photos, a glossary of terms, research suggestions, and a step-by-step guide. This user-friendly resource ensures that even novice sewers can successfully complete the project. The inclusion of detailed photos allows for visual reference at each stage, while the glossary clarifies any unfamiliar terms or techniques. Additionally, the guide provides research suggestions for fabric options, closures, and embellishments, enabling individuals to personalize their creations. The step-by-step guide breaks down the construction process into clear and concise instructions, ensuring a smooth sewing experience from start to finish.
What You Will Need:
- Sewing Machine (For best results, a machine that can do straight and zig zag)
- Needle (size depending on the fabric used)
- Thread (size depending on the fabric used)
- Cloth
- Lining cloth
- Interfacing
- Printer
- Template
- Tape
- Scissors
- Iron
- Sewing chalk
- Rotary Cutter (Amazing for multi-layer cutting)
- Self-healing Cutting Mat (Use if you are using a rotary cutter)
- Pins/clips
Research
Before starting the assembly process, I suggest conducting some research on a few key aspects. Please note that this recommendation is optional, and you are free to disregard it if you prefer.
- How to use a zipper foot
- To explore thicker fabric options for your sewing project, I recommend conducting some research. Start by looking for fabrics known for their durability and thickness, such as canvas, denim, or heavy-duty nylon.
- When it comes to finding connectors that align with your desired theme, a good starting point is to search for specialty sewing or craft stores that offer a variety of connectors.
- Additionally, you may find inspiration by exploring sewing forums, social media groups, or blogs related to sewing or crafting. Engaging with the sewing community can provide insights, recommendations, and creative ideas for both fabric choices and connectors.
Printing
Pattern page scaling set to none (page at 100%).
Where to get cape PDF pattern
Print page 1 to confirm scale; print remainder of design.
Assemble pieces.
Prepare Fabric
Wash, dry and press fabric.
Ensure grainlines are correct for pieces (fabric is the correct orientation for the pattern). This is very important and can save you a major headache further down the line of the project.
Cut all pieces per instructions and design.
Mark right and wrong sides of fabric; if needed
Front

Create a 1-inch buttonhole either by using a button foot or sewing it by hand. Avoid cutting open the buttonhole at this point.
Attach the front pocket to the front piece.
Fold and press up to 1cm of fabric, bringing
the wrong sides together.
Secure the fold in place and firmly press it using your fingers and an iron.
Slowly move the iron along the fold to create a well-defined crease. Hold the iron in place for a few seconds before moving to the next section, until the entire folded edge is pressed.
Sew onto the front piece.
Zipper
Using a zipper foot, sew side A of the zipper to the zipper.
Sew side B of the zipper to the zipper.
Carefully iron around the zipper.
Topstitch across the bottom of the zipper, going
up and around the entire zipper.
Sew side A and side B onto each end of the zipper.
Carefully iron and topstitch across both sides.
Make sure to backstitch for added strength.
Straps (x2)
Fold the strap in half lengthwise, with the right
sides together.
Sew across the top and down the long side of the strap.
Clip sewn corners.
Turn the strap right side out.
Iron the strap flat, positioning the seam where
you prefer (e.g., center back or side).
Fold unsewn end inwards.
Topstitch along the edge of the straps.
Iron and shape one end of each strap, creating a 1cm flap.
Connector pieces (x2)
Fold the connector piece in half, with the right sides together.
Sew down one side of the connector.
Clip sewn corners.
Turn the piece right side out.
Iron the piece flat, positioning the seam where you
prefer (e.g., center back or side).
Topstitch along the edge of the piece.

Back
Position the straps on top of the back piece, with the length of the straps facing away and the flap on top facing up.
Sew the straps securely in place, reinforcing the stitching for durability. For a sturdy stitch, create a square shape with an 'X' inside it.
Sew the bottom straps in place, sandwiching the flaps between the backside and the strap above. Again, use a square shape with an 'X' inside it for stitching.
Putting it all together
When using a sewing machine, it's recommended to use both the straight stitch and zigzag stitch while assembling all the pieces. After sewing, it's a good practice to
carefully inspect the stitches and hand sew any missed areas. For an even better result, consider hand sewing all the finishing touches.
Sew the side of zipper A to the front panel by aligning their edges with the corresponding edges of the front panel. Ensure that the right sides of the fabric are facing each other. Pin or clip the pieces together, then sew along the edges to join them.
Attach the bottom panel by aligning its edges with the top edges of the assembled front, zipper and side panels. Make sure the corners match up. Pin or clip the pieces together and sew along the edges to join them.
Before proceeding with the final step, it is advisable to attach any connectors you would like to include onto the connector pieces. This ensures that all desired connections are made before moving forward.
Finally, sew the back panel by folding the connectors in half and positioning them between the back and main panels, making sure any added connector pieces are placed inside the project. Align the edges of the back panel, ensuring that the corners match up. Pin or clip the pieces together and sew along the edges to join them.


View more
...
Feel free to check out our Etsy shop... soon to come with product designs and basic instructions for download!
Etsy