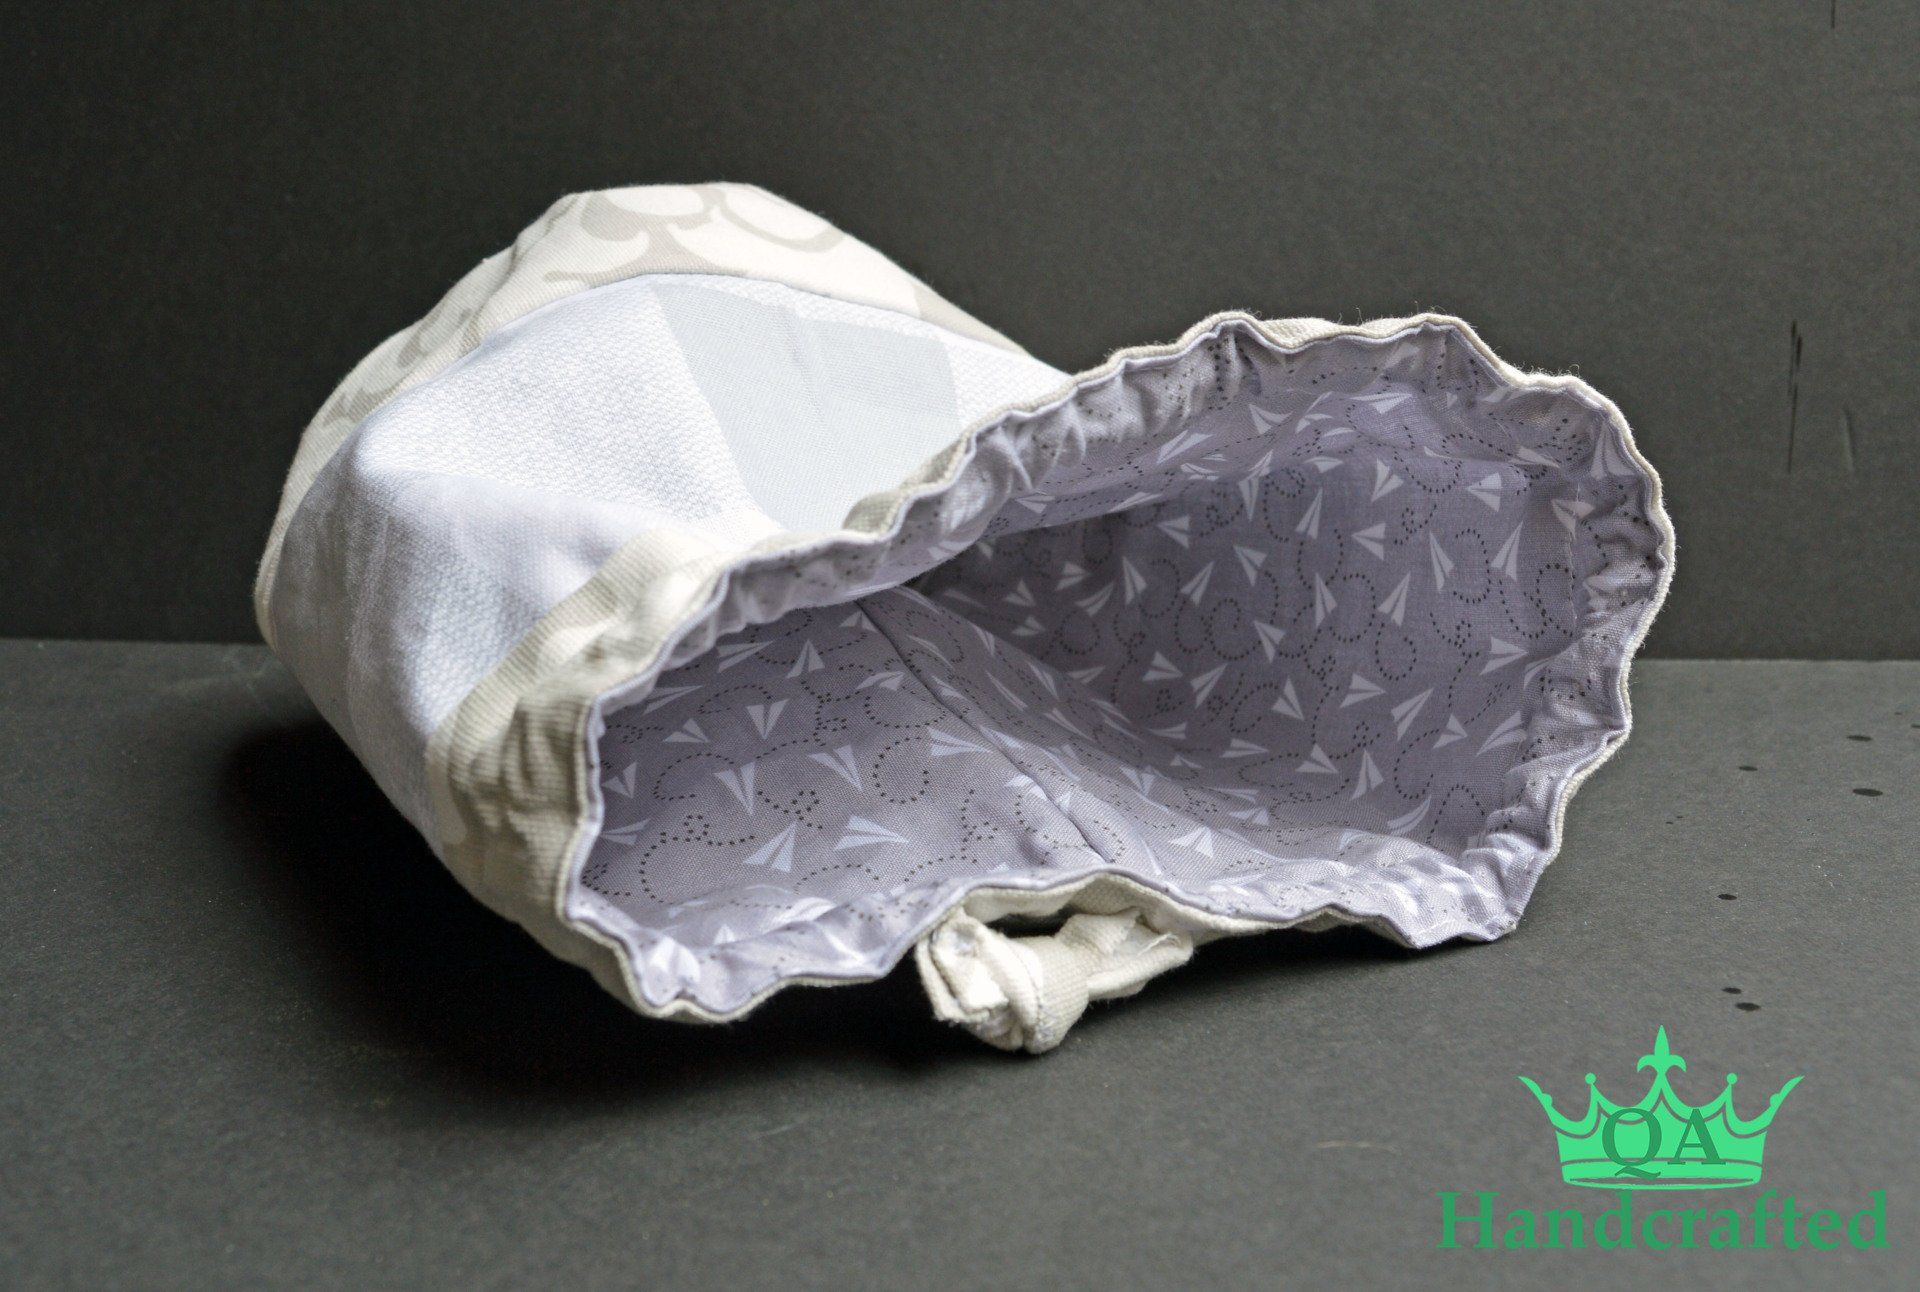
How To : Circular Bag
Large enough to hold four cornhole bags, tons of makeup, sewing materials, and anything you need to carry around or have in one place.
Best size BUT just in case you're looking for a smaller bag, dimensions are available.
Just know- the smaller the bag, the less room and the more complicated to sew.
What You Will Need:
- 6" x 21" thicker fabric of choice design (I used duck cloth)
- 6" x 21" thicker fabric of choice design (I used duck cloth)
- 11" x 21" thinner fabric of your choice for the inside of the bag (I used cotton)
- 7" x 7" same soft and lightweight fabric (I used cotton)
- 7" x 7" same thicker fabric (I used duck cloth)
- 30" ribbon of your lovely choice
- Sewing Machine (For best results, a machine that can do straight and zig zag)
- Needle (The #16 needle is recommended for 10oz Duck cloth because of the thickness of the cloth)
- Thread (Polyester thread)
- Marker
- Scissors
- Ruler
Would Make life easier :
- Rotary Cutter (Amazing for multi-layer cutting)
- Self-healing Cutting Mat (Use if you are using a rotary cutter)
- Pins
- Fabric glue
- Iron
Cut Cut Cut
Take a look at the finished product and choose which fabric you want where.
The fabric for the top and bottom will need to be cut into 4"x21" and 2"x21".
Cut the two 7"x7" squares into two circles that are 6.5" in diameter. I did this with my self-healing cutting mat, you can also do this by folding the squares 3 times (such as in the picture above), measuring out 3.25" and cut in quarter circular motion.
In this picture to the right, you see an additional piece of fabric at the bottom, across the circles. I had decided to make my ribbon at the time and it came out pretty nicely. If you do the same then at the end of the "How To" I will show you how to do so. If not then skip away.
Making Tubes
Fold so the pretty (FACE) and short sides of the fabrics are facing each other.
INSIDE LINING FABRIC: Sew along the short side to make the fabric into tubes.
OUTSIDE FABRIC: Starting from the bottom, sew along the short side to make the fabric into a tube BUT stop 3" from the top and backstitch. Leave a 1" gap and sew the remainder (by hand or with a machine) from the gap to the top.
Press the seams at the gap location away from the hole. Hand sew short lines (such as the picture above) to secure the gap location. This gap is where your ribbon will enter.
Sewing the Bottom On
This is the fun..... part. Sew the circles onto the bottom of the tubes.
I use pins to keep everything together, in place, and correct. You can use as many pins as you would like. I do recommend at least four at every corner.
Sew the circles to the tubes... easier said than done. Do this at a slow speed and ensure the underneath side layer does not get caught up under the needle.
Your first time may not be perfect but it only gets easier the more you do this same thing. For future products know that the smaller the tube the more difficult the sew.
Insert and Sew
Awesome job on the tubes! Remember this is your first tube sewing and my first one was... well.. not so pretty. :)
Now, keep the inside lining tube inverted (wrong side out) and place the outside tube (right side out) inside it.
Keep the seams together.
Sew along the top of the tubes and ensure to leave a 2" gap for turning it inside out.
Staring to See Shape
Use that 2" gap to turn the bag right side out.
Step back and feel the excitement of starting to see the finished product. :)
Press the top of the bag with an iron. Stich around the top of the bag, including the gap that was left. Furthermore, stitch both sides of the ribbon hole to create a channel for the ribbon to follow.
Insert Ribbons and Enjoy
If you are making your ribbon then there is one more section below.
If you are not, let's get the ribbon in the bag, tie it off and enjoy!
I use a safety pin attached to the end of the ribbon then, using my fingers, I push the pin around the bag and out of the other side.
Now Enjoy! What an amazing feeling, finishing and looking at your finished product!
Finished Product!
Now you have your finished bag!
You can use this for future projects and change up the dimensions!
What a great gift that can be embroidered, sized, bejeweled, or made the way you like it!
Have fun and share your finished product if you choose!
Smaller Bag Dimensions: 11"x5" with a 5" diameter
...
Feel free to check out our Etsy shop... soon to come with product designs and basic instructions for download!
Etsy
The simple rules of cornhole
Toss the 16oz corn-filled cornhole bag into the hole of cornhole board for 3 points. Land the cornhole bag on the cornhole board and score 1 point. The first player or team to 21 wins. The distance for cornhole is 33 feet from hole to hole or 27 feet from the front of each board


