How To : Kid's Tie
So many things you can do for a playful kid's tie! A 2" wide tie (with a 1/2" seam) and 12.5" long.
To make it unique: embroider, bejewel, use colorful fabric, or your kid's favorite comic.
Have bed sheets or t-shirts your kid doesn't fit anymore...? Use them as fabric to make their tie!
What You Will Need:
- Sewing Machine
- Needle
- 18" x 5" cloth fabric of your colorful choosing
- 14" x 5" lightweight to mid-weight interfacing fabric
- Thread (Polyester thread)
- Scissors
- Ruler
Would Make life easier :
- Rotary Cutter (Amazing for multi-layer cutting)
- Self-healing Cutting Mat (Use if you are using a rotary cutter)
- Digital Scale (Recommended for accuracy)
- Pins
- Fabric glue
- Iron (for pressing)
Get your fabric ready
To get started cut your fabric into the needed measured piece..
The main fabric of the tie needs two pieces..
14"x5" and 5"x4"
The interfacing fabric of any color
of your choosing
(plain is recommended and whatever is possible .. go ham..)
14"x 5"
Jump right in to sewing
Take the small 5"x4" piece and fold along the short end with the pretty fabric facing each other.
Then sew along the 5" long side.
Always make sure to backstitch for strength.
Flip it and press it with the seam to the bottom.
Now throw that aside, we will come back to that eventually.
Working on the long side
Easy section..
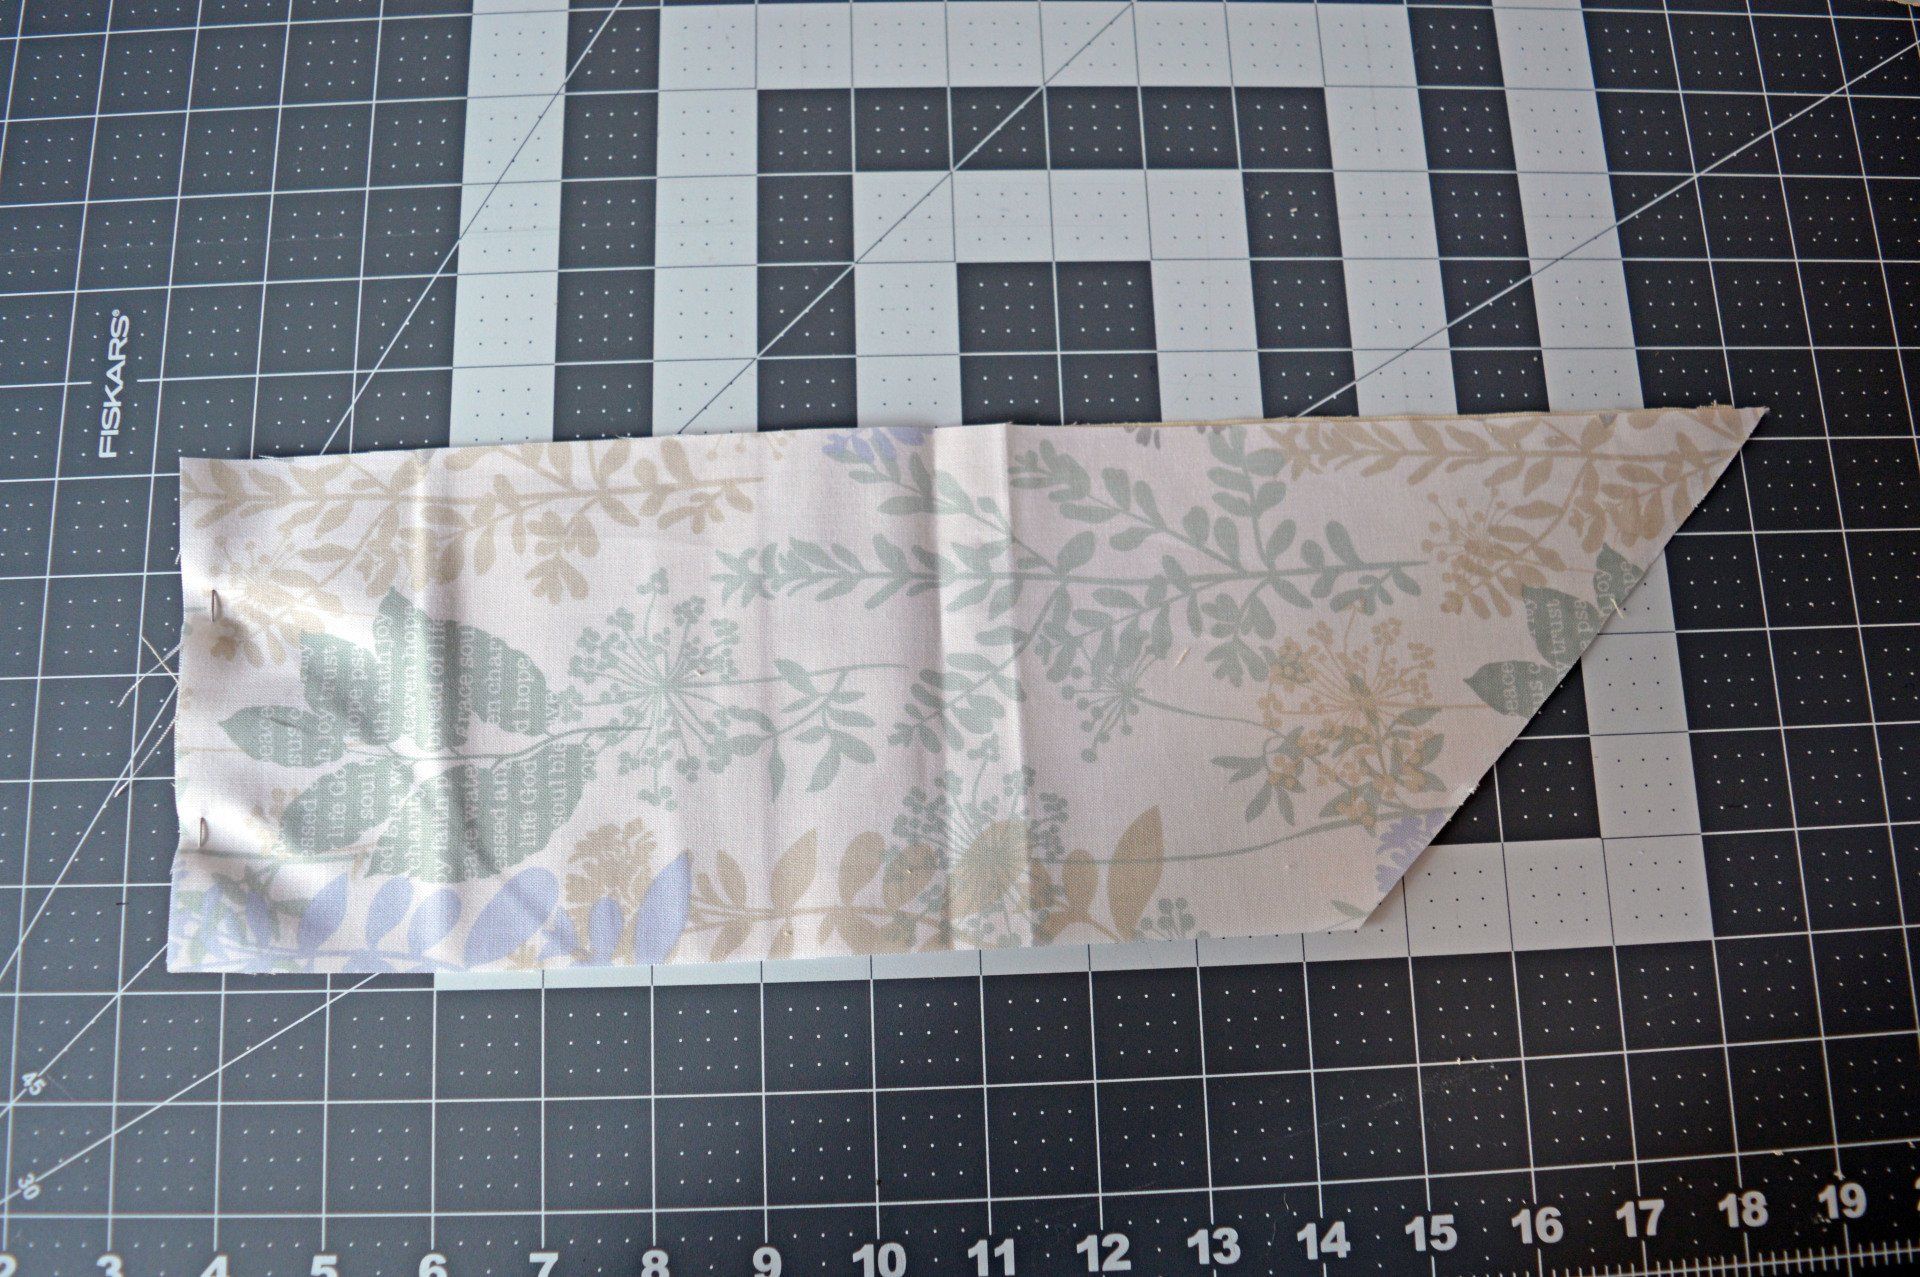
Place your two larger fabrics together (as seen in the picture) with the colorful pattern on the bottom facing the mat and the other on top.
Pin at one side to hold for sturdiness.
Take my advice and learn from my mistakes.... Press the fabric before you cut and sew.. this will make your sewing easier. ~Face Palm~
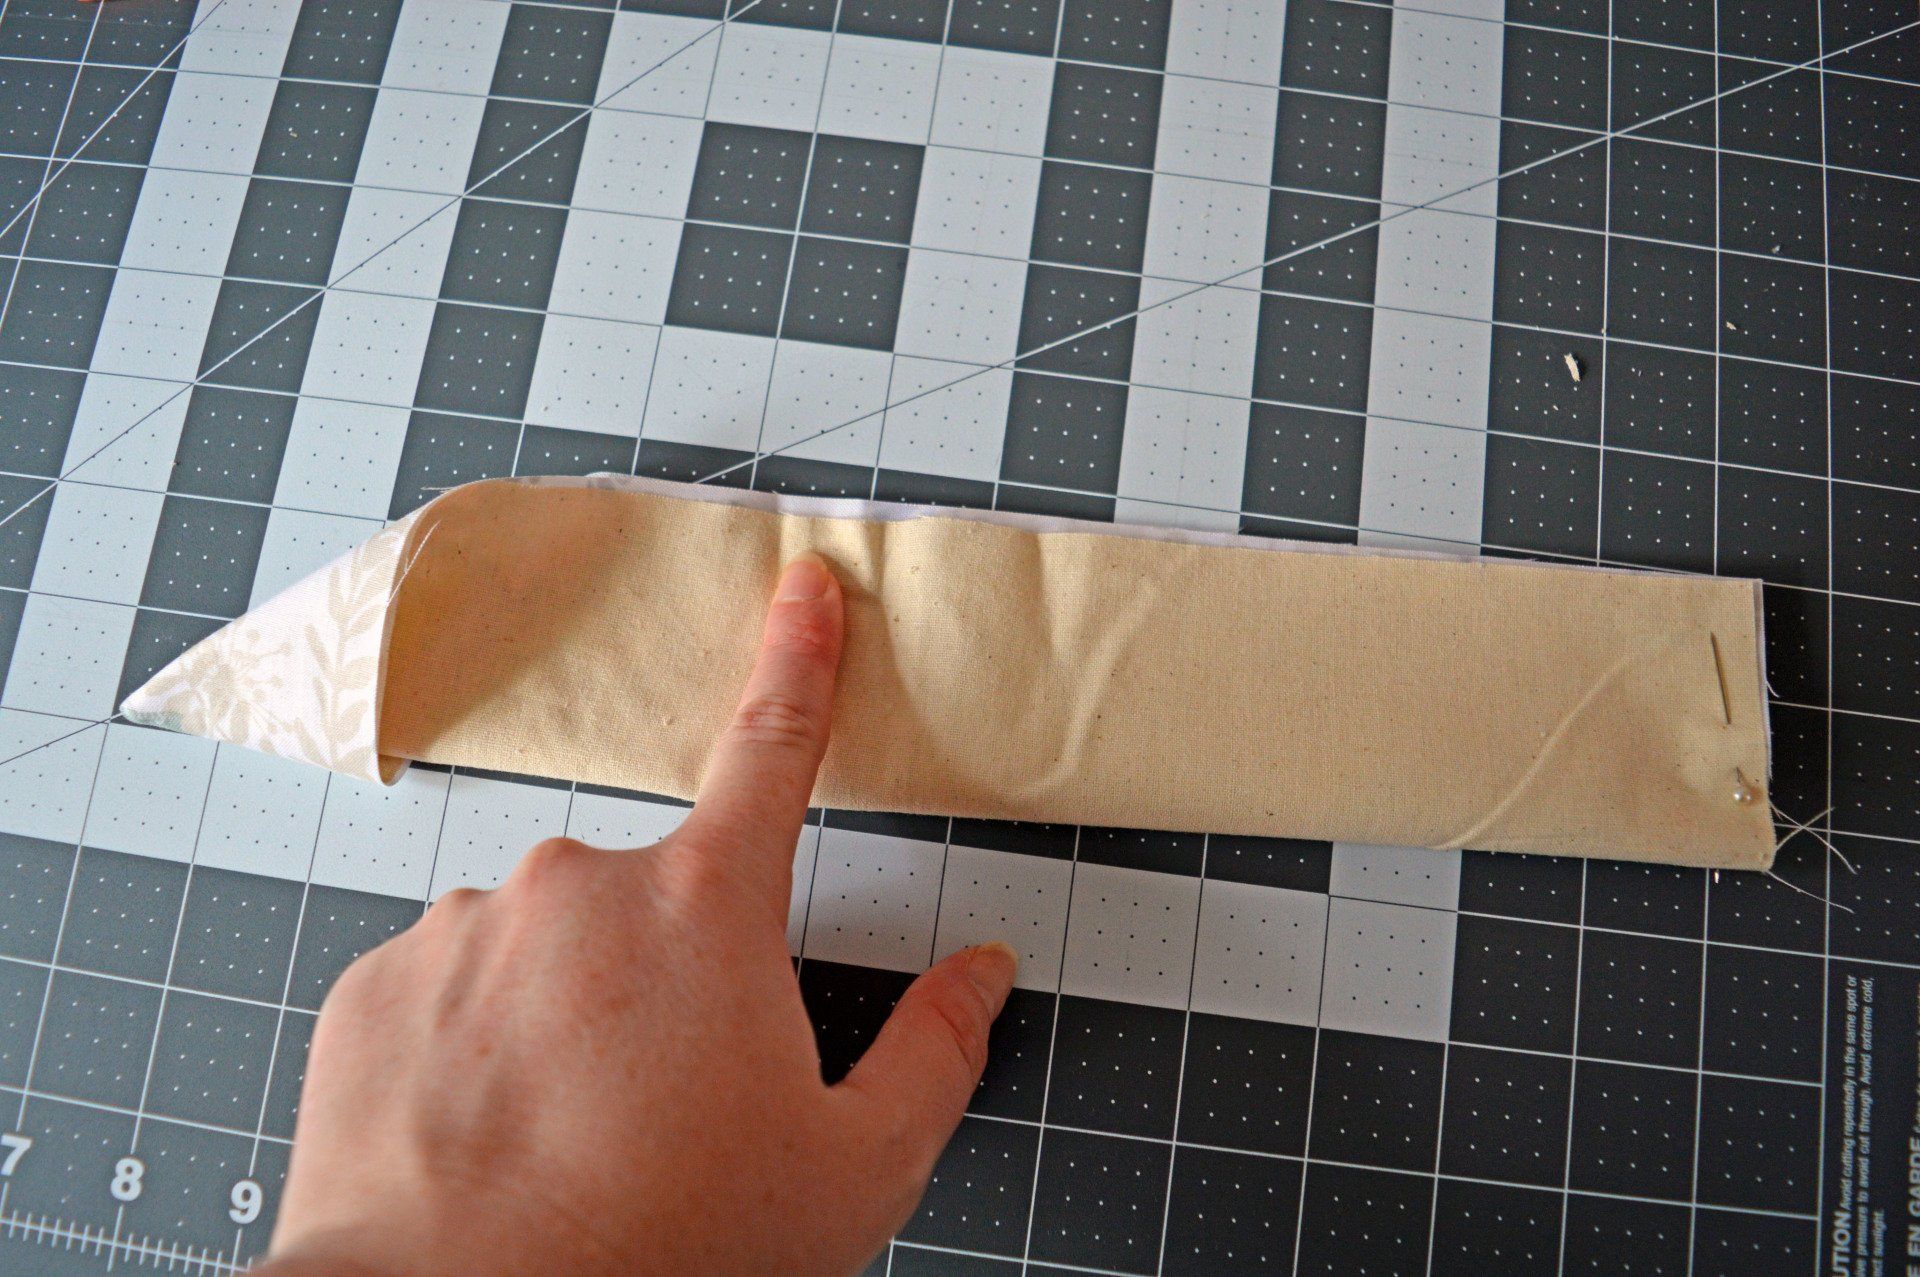
Now let's flip it to the front with the colorful fabric facing you.
Beginning to see shape
Flip the long side of the cut fabric over and sew, remembering to back-stitch for strength.
I have opted to use a 1/2" seam (my next tie will be a 1/4" seam for a wider tie).
After sewing cut as close to the end of the tie, without cutting the thread, to give you a crisp look to your tie!
When finished- flip the end of the tie right side and use a dowel or pointy object to use the bottom to a crisp and sharp point.
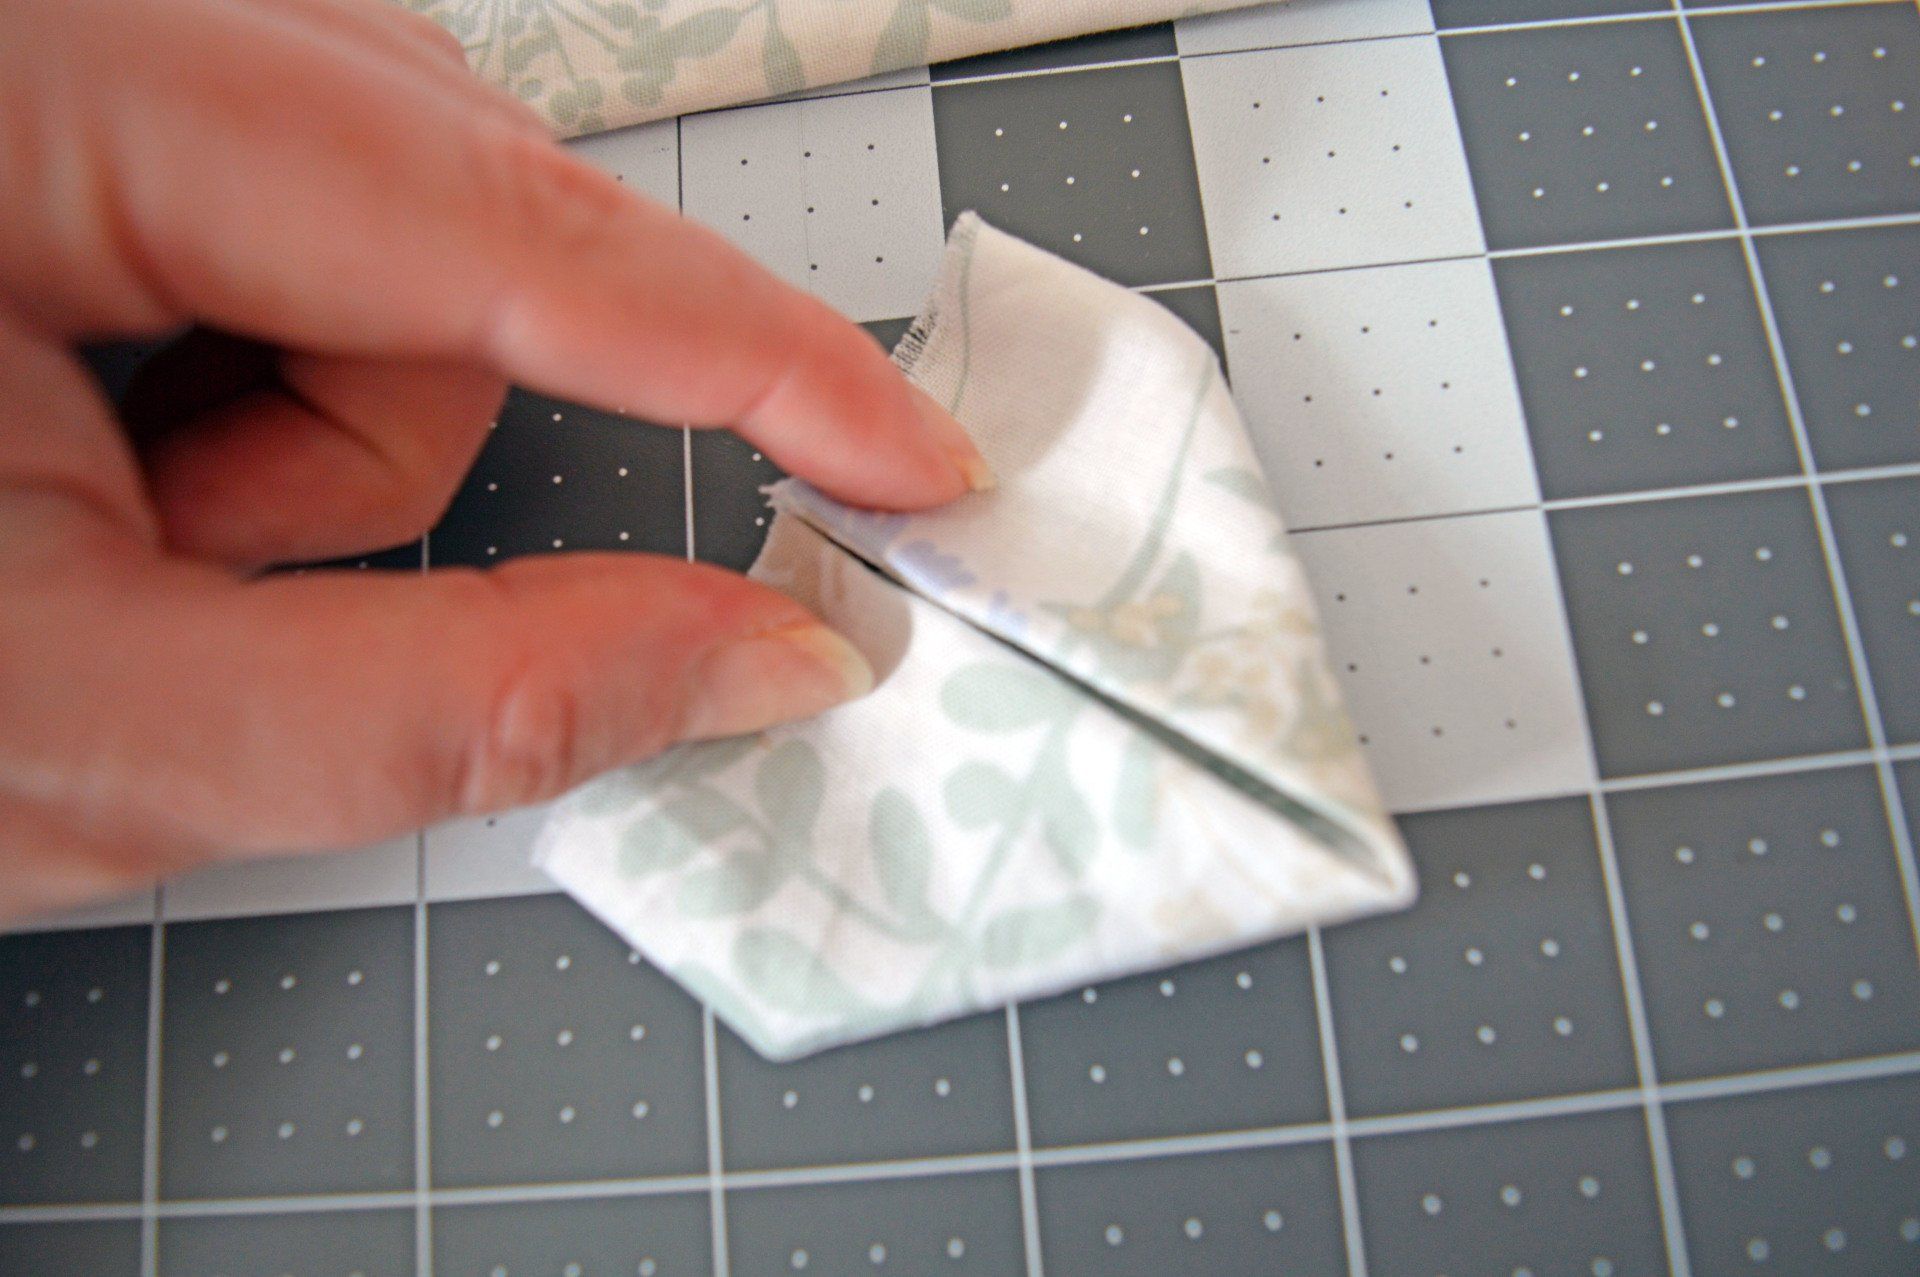
Folding for the end
Again the words aren't coming, so photos are patterns best friend..
We're going to fold the tie in half, place the back of the tie together and bring the end of the tie through the ribbon top (check out the photo ).
Pull it all the way through. Then there ya' go! Perfect kid's tie!
So many options from here
Press that tie then your good to go!
You have options on how to attach the tie to your child or build-a-bear.
I opted for sewing fabric to make a ribbon and having my nephew's neck size and sewing on snap connectors for him. The fabric can be placed between the tie and the top, hidden under the top so it is not seen. When he grows and wants to keep using the tie, just replace the ribbon size diameter.
You can do the same thing with Velcro, buttons, and numerous options for connecting.
On the flip side, you can also sew on a clip to the back to make it a chip-on tie!
...
Feel free to check out our Etsy shop... soon to come with product designs and basic instructions for download!
Etsy
The simple rules of cornhole
Toss the 16oz corn-filled cornhole bag into the hole of cornhole board for 3 points. Land the cornhole bag on the cornhole board and score 1 point. The first player or team to 21 wins. The distance for cornhole is 33 feet from hole to hole or 27 feet from the front of each board


